
June 8, 2026
Mini Split Installation: A Practical How-To Guide for Homeowners
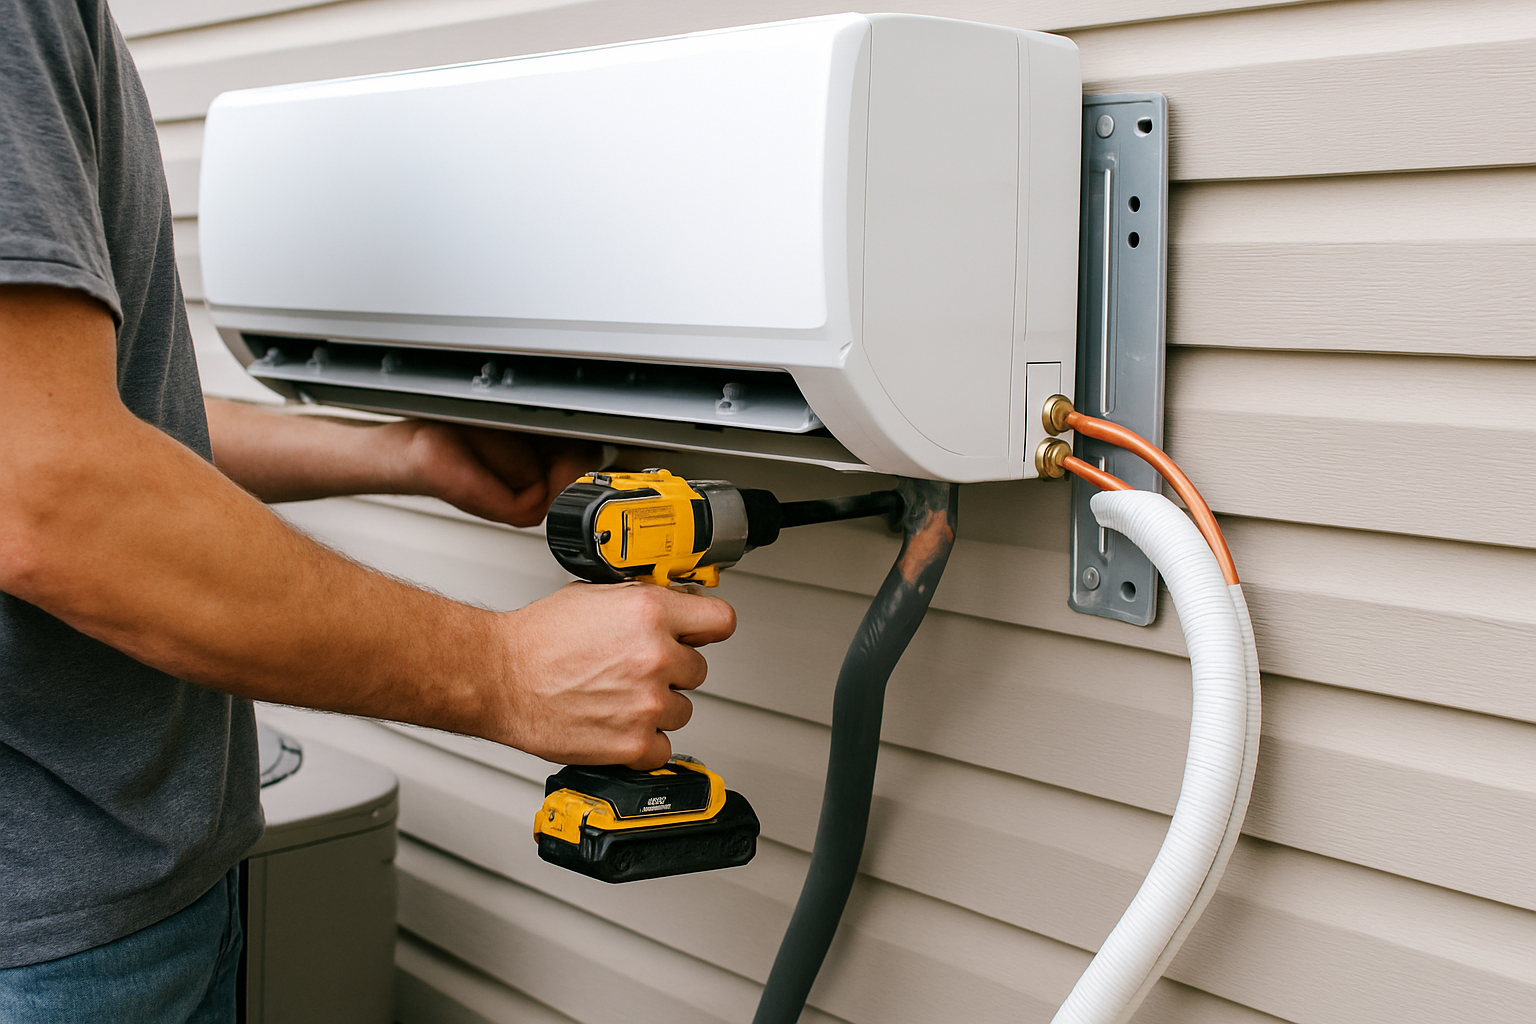
Thinking about adding targeted comfort without tearing up your home? A ductless system can be a smart solution, especially when you want better control over one room, an addition, or a hard-to-heat space. But successful mini split installation is not just about hanging a unit on the wall. It takes planning, the right tools, and careful setup to get efficient performance and long-term reliability.
In this guide, we will walk through the basic process so you can understand what is involved, what to watch for, and when to bring in a professional. If you are considering an upgrade, you can also start by visiting the mini split installation experts at Wasatch Peak HVAC.
Mini split installation: What to know before you start
Before any equipment goes on the wall, the system has to be sized and planned correctly. A mini split that is too small will struggle to keep up. One that is too large can cycle too often, waste energy, and create uneven comfort.
Start with the right room and the right capacity
Not every space is a perfect fit for a ductless system. Mini splits work especially well for:
- Bedrooms
- Home offices
- Garages and workshops
- Finished basements
- Home additions
The square footage matters, but so do ceiling height, insulation, sun exposure, and window quality. A proper load calculation helps match the system to your space instead of guessing based on size alone.
Check electrical and placement needs
A mini split usually needs a dedicated electrical circuit, and the indoor and outdoor units must be positioned for proper airflow, drainage, and service access. The indoor head should not blow directly onto beds or seating areas, and the outdoor unit needs enough clearance for airflow and maintenance.
How mini split installation works step by step
While every project is a little different, most installations follow a similar path. Understanding the sequence helps you know what to expect if you are hiring a contractor or evaluating your options.
1. Mount the indoor unit
The indoor air handler is attached to a wall bracket or mounting plate. It must be level and secured to framing or another solid surface. From there, the installer marks the location for the line set, drain line, and electrical connections.
2. Drill the access opening
A small opening is made through the wall to route the refrigerant lines, condensate drain, and wiring. This step needs precision so the lines pass cleanly through without damaging the wall or creating leaks.
3. Set the outdoor condenser
The outdoor unit is placed on a pad, stand, or bracket depending on the site. It should be level and located where noise, snow, and debris will not become a problem.
4. Connect the line set and wiring
This is one of the most important parts of mini split installation. Refrigerant lines, electrical connections, and drain lines must all be connected correctly and sealed properly. Small mistakes here can lead to poor performance, water leaks, or system damage.
5. Vacuum, test, and charge the system
Before startup, the refrigerant lines must be evacuated to remove moisture and air. Then the system is pressure tested and charged according to manufacturer specifications. This final step is key to protecting efficiency and compressor life.
Common mistakes to avoid during mini split installation
Even a high-quality system can underperform if the installation is rushed or done incorrectly. Here are some of the most common problems homeowners run into.
- Wrong system size: Oversized or undersized units rarely deliver comfortable, efficient results.
- Poor indoor placement: If the unit is blocked or aimed poorly, comfort suffers.
- Bad drainage: A clogged or improperly pitched drain line can cause water to back up and damage walls.
- Loose refrigerant connections: Tiny leaks can become major repair issues over time.
- Skipping the vacuum step: Air and moisture in the line set can hurt performance and shorten system life.
These are not cosmetic issues. They affect energy use, comfort, and the lifespan of the equipment. That is why mini split installation is usually best handled by trained HVAC professionals.
DIY or professional mini split installation?
Some homeowners are tempted to tackle the project themselves, especially if they are comfortable with tools. But mini splits combine electrical work, refrigerant handling, line-set sealing, and equipment placement. One missed step can turn a promising upgrade into an expensive repair.
When DIY might be realistic
A DIY approach may seem possible for experienced homeowners working on a simple single-zone setup, but only if local code allows it and all manufacturer requirements are followed exactly. Even then, specialized tools are typically required.
Why hiring a pro often makes more sense
Professional installers bring sizing expertise, code knowledge, proper equipment, and the experience to handle complications such as long line runs, difficult wall materials, or outdoor unit placement challenges. If you want the system to run efficiently from day one, a professional install is the safer choice.
For homeowners in our area, working with a trusted local team like Wasatch Peak HVAC can save time and help avoid preventable issues. A quality install is not just about getting the unit on the wall. It is about making sure the entire system performs the way it should.
How to keep your new system running strong
Once your mini split is installed, a few simple habits can help keep it working well for years.
- Clean the indoor filters regularly.
- Keep the outdoor unit free of leaves, snow, and debris.
- Watch for unusual noises, odors, or water around the indoor unit.
- Schedule routine HVAC maintenance before peak heating or cooling seasons.
Regular care helps preserve efficiency and gives you a chance to catch small issues before they become bigger ones. That is especially important in climates where heating and cooling demands can change fast.
If you are ready to upgrade your comfort or want help planning a mini split installation, reach out to Wasatch Peak HVAC today. Our team can help you choose the right system, install it correctly, and keep it running reliably for the long haul.